Yeah, u can use samples of any resolution. I've used a couple for Roll's voice samples. I believe they're straight 44.1 khz 16bit. The steps are pretty simple too. If u change the pitch, u can save on space too. In the end, just use VAGTOOL for the final VAG file output. And in VABTOOL u can change the pitch back to the original or close to the original sound.
But anyway, here are the Awave steps...
Open the Midi and see what instruments are being called. Make a note of them and also if the percussion channel is being used and what program # it calls. I use Cakewalk for this, but u can use whatever u want.

NOTE: Instruments used: 029. 030. 034. + DRUM KIT 000.
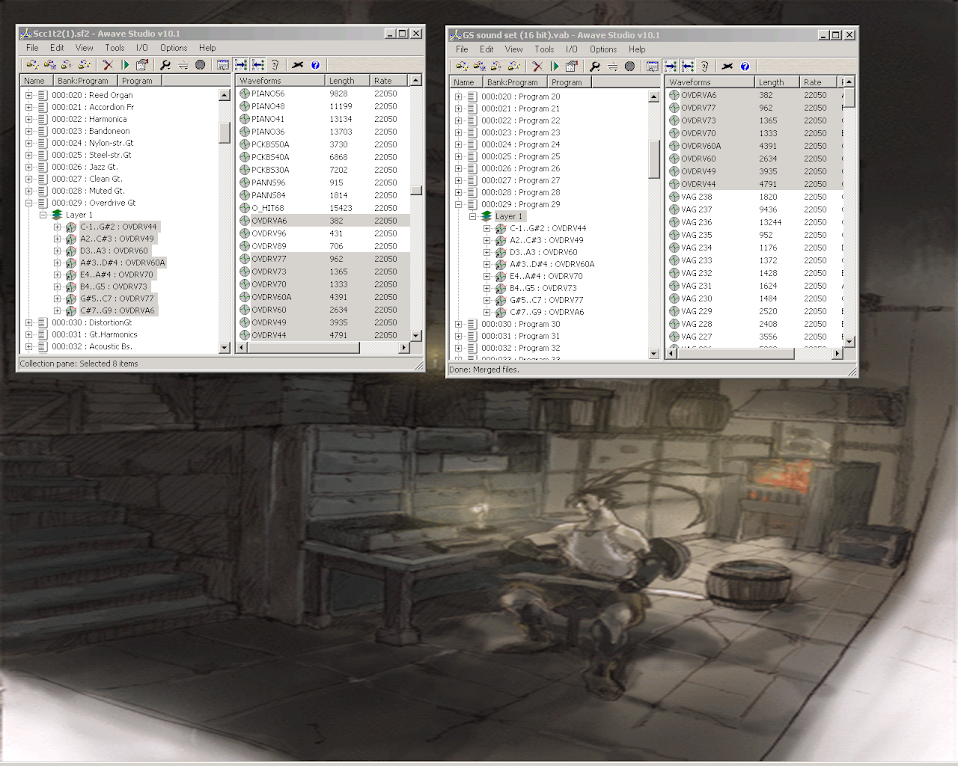
Now open Awave Studio and Convert your SF2 into VAB. Close the file and reopen it. Open the original SF2 file and put both windows side by side.

NOTE: Notice how the files are not the same anymore? When Awave does the conversion, it eliminates a lot of the sample's resolution. 5-6 samples for instrument 29 became 2 samples of shitty quality.
Delete the samples in the new VAB file and replace them with the ones from the original (Cut / Paste)
NOTE: Only do the ones in which the Midi file uses, 29. 30. and 34... but since this midi uses drum kit, you have to find what instruments are being used and where the hell the drum kit is (it took me a while

)
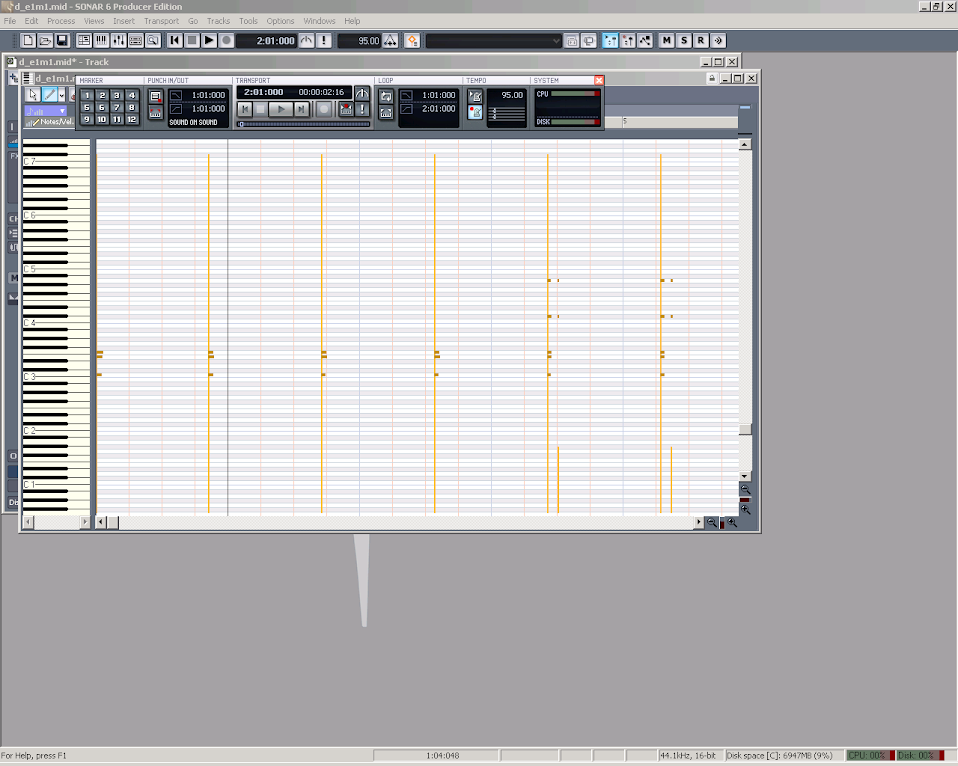
NOTE: with Cakewalk you can view Piano Sheet and see what notes are being used for Drum Kit.
NOTE: find the drum kit in Awave and Cut/Paste instrument samples used to instrument 000 in the VAB file. (it turns out to be notes c3 to a4).
Now save the new VAB and close the windows.
Open the new VAB file with VABTOOL.

NOTE: u don't have to do this, but I always save VAB files as separate VH/VB. Mostly because that's how it's loaded in my source code (I never bothered with loading VAB files

)
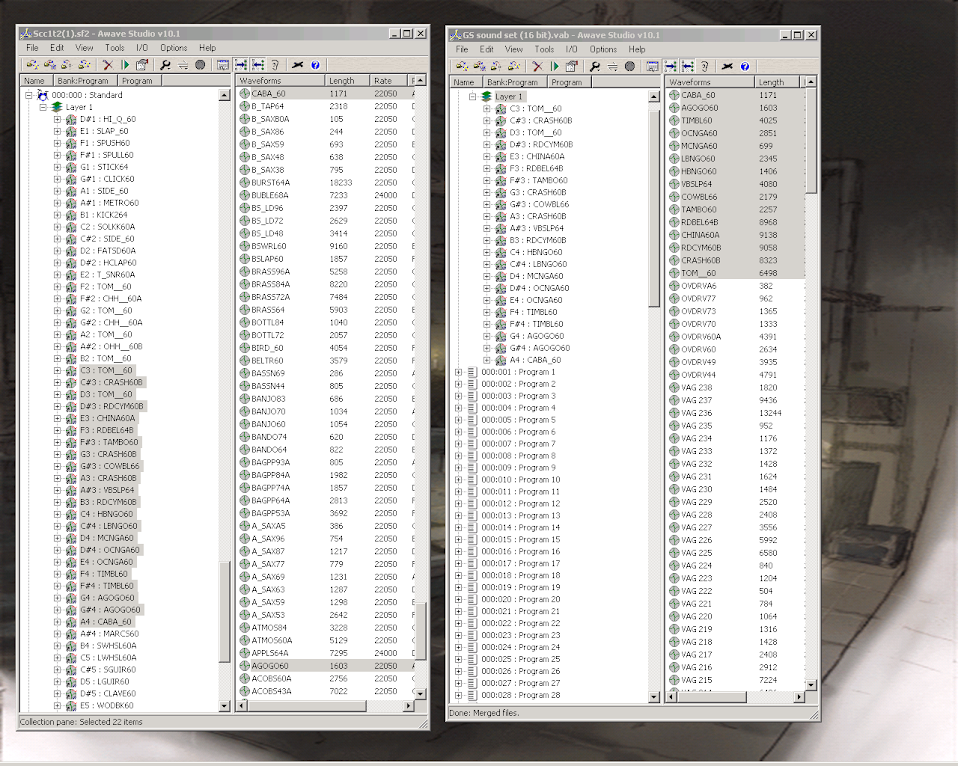
Open each program (the one's that are being used -> 000. 029. 030. and 034.) and scroll thru each tone to see which VAGs are being used. *you can also use Awave Studio to do this.
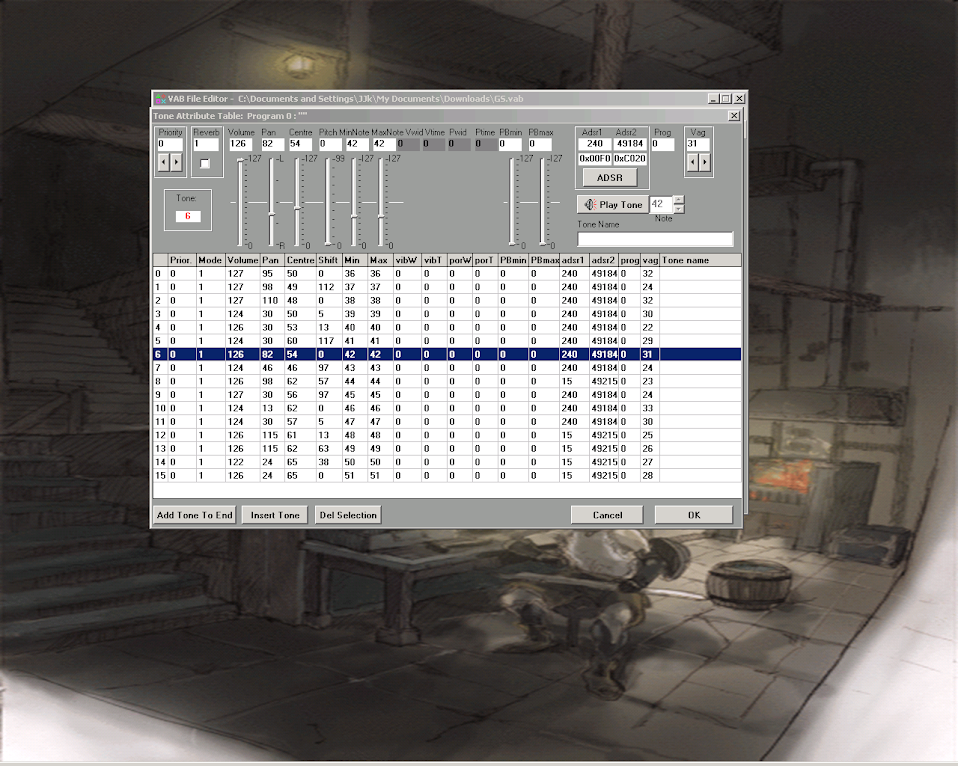
NOTE: u will notice that the VAGs are pretty much ordered from 1 to 33. If not, you can reopen the VAB file in Awave Studio and delete unused VAGs and rename a high number VAG to a lower number. (i.e. ->if VAG 255 is being used by a program 030. and the second highest VAG #being used is 32, delete VAG # 33 and rename VAG 255 to VAG 33. What u want to do is get all the VAGS in sequential order.
Now open VABTOOL and go to view VAGs.

NOTE: u will need to delete all unused VAGs. Just click on "Delete Last VAG" and hold Enter. (just make sure u stop at VAG 33 or whatever the Last VAG is.)
Now go back and open Program # 029.

NOTE: U will have to change the value "Centre" of every tone by 12. (going up) So if Tone #0 has a "Centre" value of 33, it's new value will become 45. U have to do this for every tone. (For some reason Awave Studio knocks every tone off by 1 octave. If you use your ears carefully, you can probably tune it better then the standard 12 octave that i use. I could swear playing back one SF2 note and the same VAB note at 11 dif was actually more accurate then 12
who knows)
Now double click on the tone '0'
We have to change the ADSR envelope/

NOTE: I'm not sure if i'm correct here, but I believe Awave Studio is backwards when converting the values of Decay and Sustain. Awave Studio is doing something (since there are values in there) but those values are wrong. If you play the VAB with it's SEQ right now, the instruments will not be heard, or barely heard. If you look at Sustain, you will notice that there is no Sustain. It's set at ZERO (even tho is says 127). So if an instrument is Called, it is immediately gone since it has a ZERO Sustain Rate. Just change the value to 0 <-which is MAX. --- Now as for Decay, I don't know. could a 9 value really mean 5? If Awave Studio thinks 15 means MAX when in fact ZERO mean MAX, could changing these Decay values bring more accuracy??
?? (I just changed them all to ZERO <- MAX

)
And that's it. Once you've done that to every single instrument. You're done. You have the option of Enabling Reverd (Which i did) but that's your call. After everything is done, just load it into source and you're off.